The Laser
The Laser Panel
One panel for every laser: its state, the Start button, pause and stop, framing, focus, homing and moves, read from top to bottom.
The Laser panel reads from top to bottom, in order of use, and looks the same whatever the laser: connected by USB, over the network, virtual laser, or shared by Bernie Link or a Mac.
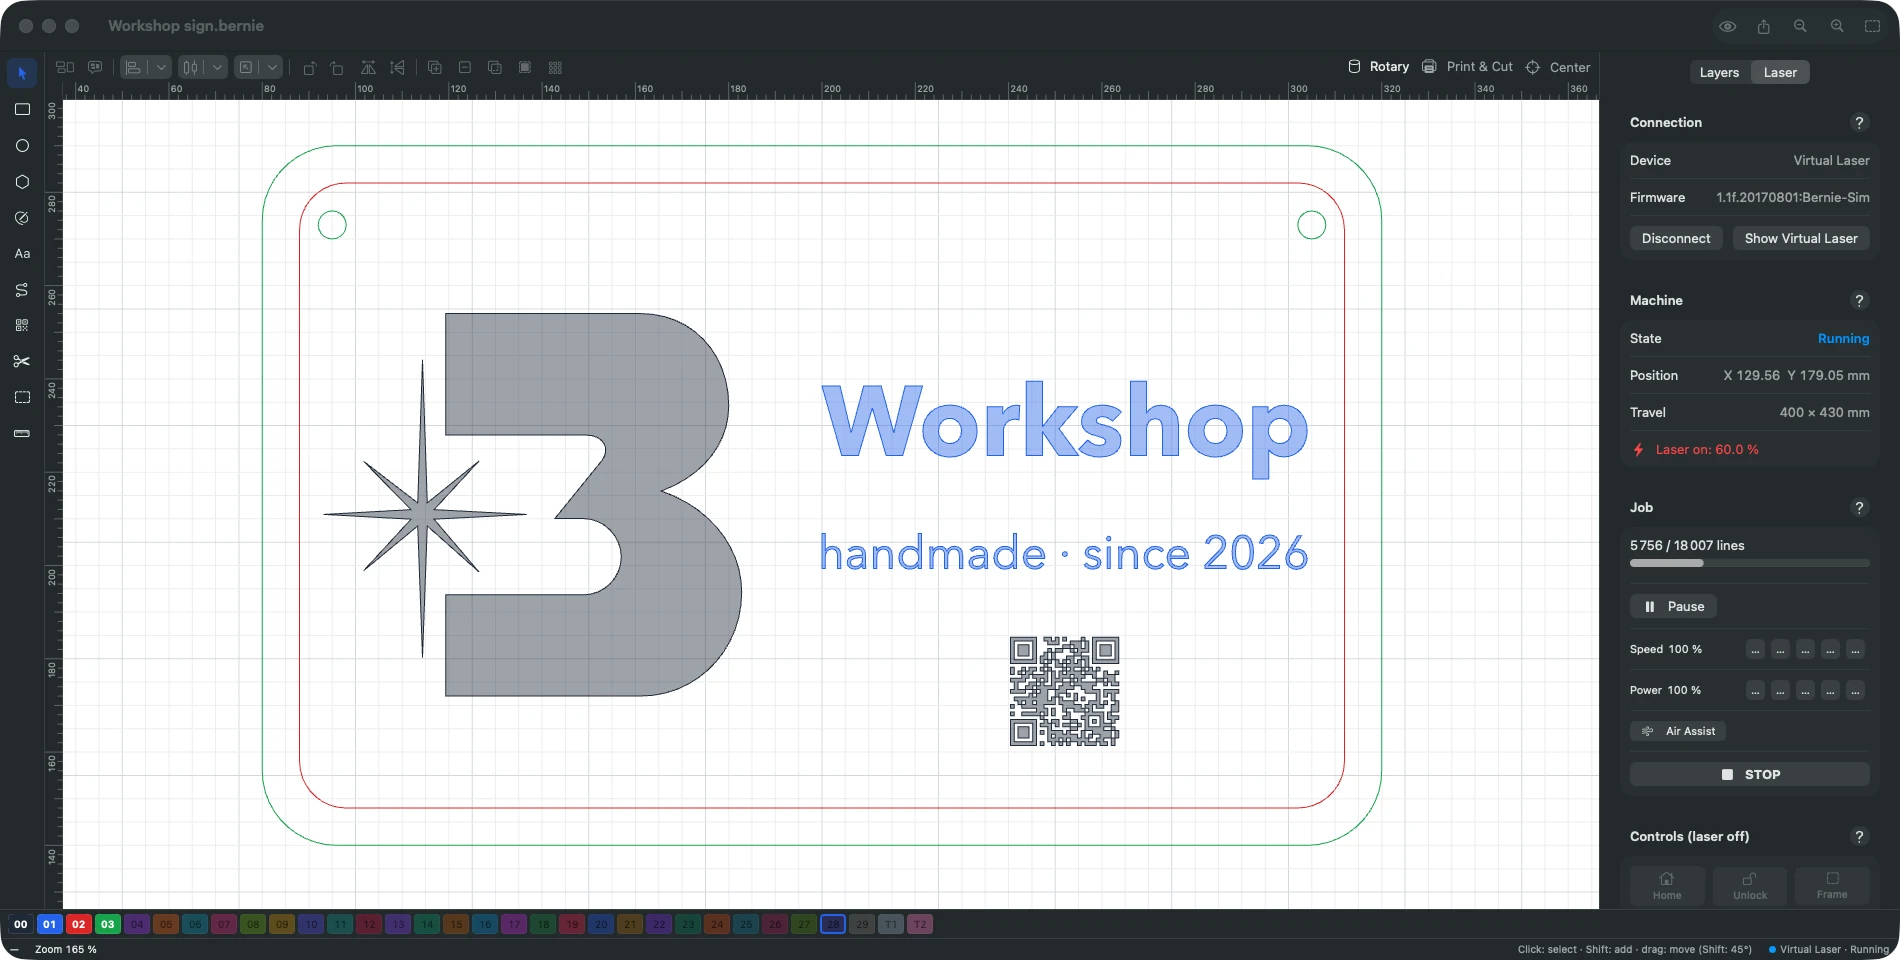
- The laser card, at the top: the machine (the chosen device), the link (“Bernie Link “Workshop””, USB port, virtual laser…), a colored state badge (Ready, Engraving, Paused, Alarm, Not connected), the head position, the laser’s maximum speed and the estimated job time. Clicking the state in the status bar opens this panel.
- What goes to the laser, just above Start: each layer sent (color, name, mode, speed, power, passes), the “Not sent” layers, the job size and the Start from line (absolute coordinates, head position or user origin, job origin, selection only). Clicking a layer opens it in the Layers tab (Mac, iPad, computer); clicking Start from unfolds Job placement.
- The main action, large: Start (laser connected here) or Send Job (shared laser). During the job: the progress, then Pause (or Resume) and Stop (⌘.), as two separate buttons. Stop pauses first, then resets the controller once the head has stopped: no alarm, no lost position. Afterwards, ““name” is finished” (or a banner if the job was interrupted).
- Alarm: a red banner “The laser is in alarm” offers Home and Unlock; no job starts until the laser is ready.
- Start question: the time, the summary of what goes to the laser and the warnings of the pre-send check; when a warning concerns shapes (open shape in a fill layer, duplicate shape…), Show Shapes cancels and selects them on the drawing.
- The tools: Framing (a very weak light dot follows the job outline, at the focus power — 1 % by default — to see it on the workpiece without marking it), Focus (see below), Material Test (the speed × power grid to calibrate a material, also through Bernie Link or a Mac: Send…), Home, Move (arrows at the chosen step, center of the bed; “→” always goes right, seen from the front, whatever the device origin) and Max Speed (the speed and acceleration read on the controller, compared with the device’s, to copy in one click).
- Laser settings that differ from the device (work area, speed, limit switches): a banner offers Adapt the device, so that Bernie’s work area is exactly the size of the laser, job times are right and every job starts from home.
- Automatic homing: on a machine with limit switches, until it has been homed since it was switched on, its zero is wherever the head was (often in the middle); Bernie therefore homes it first before taking the head anywhere (Focus, Framing, Move to the center…). Jobs start from home with the device option “Home the Machine ($H) Before Each Job”.
- Below, collapsible: Job Placement and Options, Connection, and Advanced (state details, manual commands, fire, macros, controller console).
Focus
The head goes to the center of the work area, then Turn On the Spot lights the laser very weakly (0.5 to 10 %, 1 % by default), head still, 30 seconds at most (Extend, Turn Off). Screw or unscrew the diode — or raise and lower the head — until the spot is as small and sharp as possible; then check with the focus pattern of the Material Test. Wear suitable glasses, even for a weak spot. With Bernie Link, the power is capped by Bernie Link itself (10 % of the controller’s maximum power, 60 s).
This manual is also built into Bernie: press F1, or open the Help menu, to read the topic for what you are doing. A mistake, a missing answer? Tell us
Try it in Bernie, for free.
Free laser engraving and cutting software for diode, CO2, fiber and galvo lasers. Windows, Mac, Linux, iPad, iPhone and in the browser.