Layers
Cut Settings
What each layer mode does and every setting that goes with it: speed, power, passes, tabs, lead-ins, fill interval and angle, overscan.
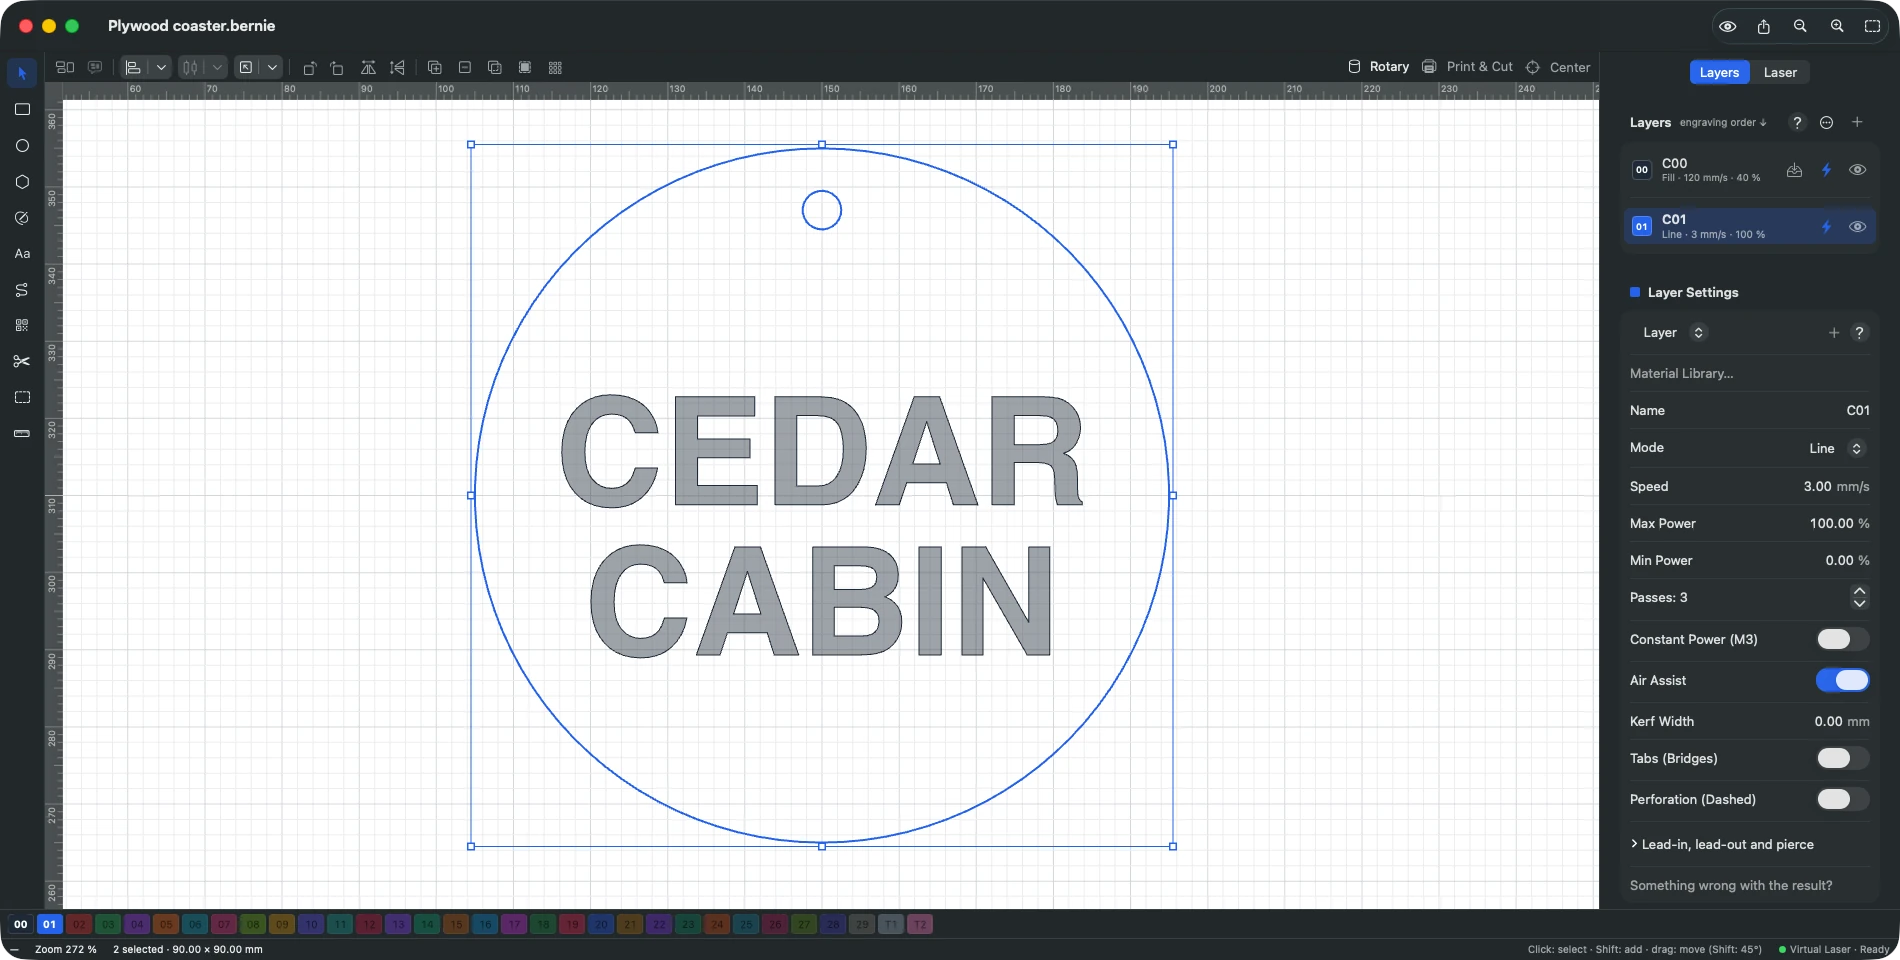
- Line: follows the outlines (cutting, line marking). Options: kerf compensation, tabs, perforation.
- Tabs: length, count per shape or spacing (with a maximum count), no tabs on holes (they fall out as scrap), power in tabs (0: laser off; a low power scores the tab so it breaks more easily; as pulses if the device asks for it, see Devices). Tabs placed by hand with the Tabs tool are cleared for the whole layer with “Clear the hand-placed tab(s)”.
- Lead-in, lead-out and pierce (collapsible section): overcut (the cut of a closed shape goes back over its start), lead-in and lead-out as a line or an arc, placed on the scrap side — outside parts, inside holes — so the start of the cut doesn’t mark the part, and pierce: a pause with the laser on at the start of each cut (time, power), to get through thick material before moving. The preview marks each pierce with a small cross.
- Fill: scans the inside of closed shapes (even-odd rule: a shape inside another makes a hole). Options: interval, angle, cross-hatch, bidirectional, separate islands, fast travel across gaps, flood fill (each connected region is filled step by step — the two arms of a “U” one after the other — instead of crossing gaps on every line: less travel; best kept for machines without backlash), edge ramp (power rises from minimum to maximum over this distance from the edge: softened edges, relief effect; on every edge or outer edges only), rotation per pass (with several passes, the angle turns at each pass).
- Offset (Offset Fill): fills closed shapes with successive outlines offset inward at the chosen spacing, from the outside to the centre. Faster than scanning on thin shapes (text, frames), with no overscan. In the layer list, a pictogram shows each layer’s mode; in filled display, an offset-fill layer shows a few nested outlines over a lighter fill, to tell it apart from a fill.
- Image: engraves a dithered image. As with fills, Fast Whitespace Crossing crosses white areas of a few millimetres or more at rapid speed.
- Speed and power (maximum; minimum for slowdowns — on a Ruida controller this is the power in corners, “Corner Power”; everywhere, the low end of grayscale and ramps), passes, air assist. With a scribe, power does not apply and is not shown. Ruida machine with a dual tube (box in the Ruida window): Tubes — both, tube 1 or tube 2 alone (the other stays off) — and Own powers for tube 2 (min and max); otherwise tube 2 takes the layer’s powers. Tubes carry the names given in the Ruida window; with “Only one tube at a time”, the “both” choice goes away. Each sub-layer has its own choice: engraving on tube 1, outline on tube 2, for instance.
- Overscan: the head runs past the end of the lines to engrave at constant speed. Automatic overscan: the distance is computed from your machine’s acceleration (Settings › Devices › Motion). It is on for new layers; too short an overscan gives darker edges (the pre-send check reports it).
- Constant power (M3): GRBL only; by default, power follows the actual speed (M4).
This manual is also built into Bernie: press F1, or open the Help menu, to read the topic for what you are doing. A mistake, a missing answer? Tell us
Try it in Bernie, for free.
Free laser engraving and cutting software for diode, CO2, fiber and galvo lasers. Windows, Mac, Linux, iPad, iPhone and in the browser.