Layers
3D models
STL, OBJ, 3MF, PLY, OFF and AMF models turned into a depth map and engraved in relief: side facing the laser, tilt, width, relief and background.
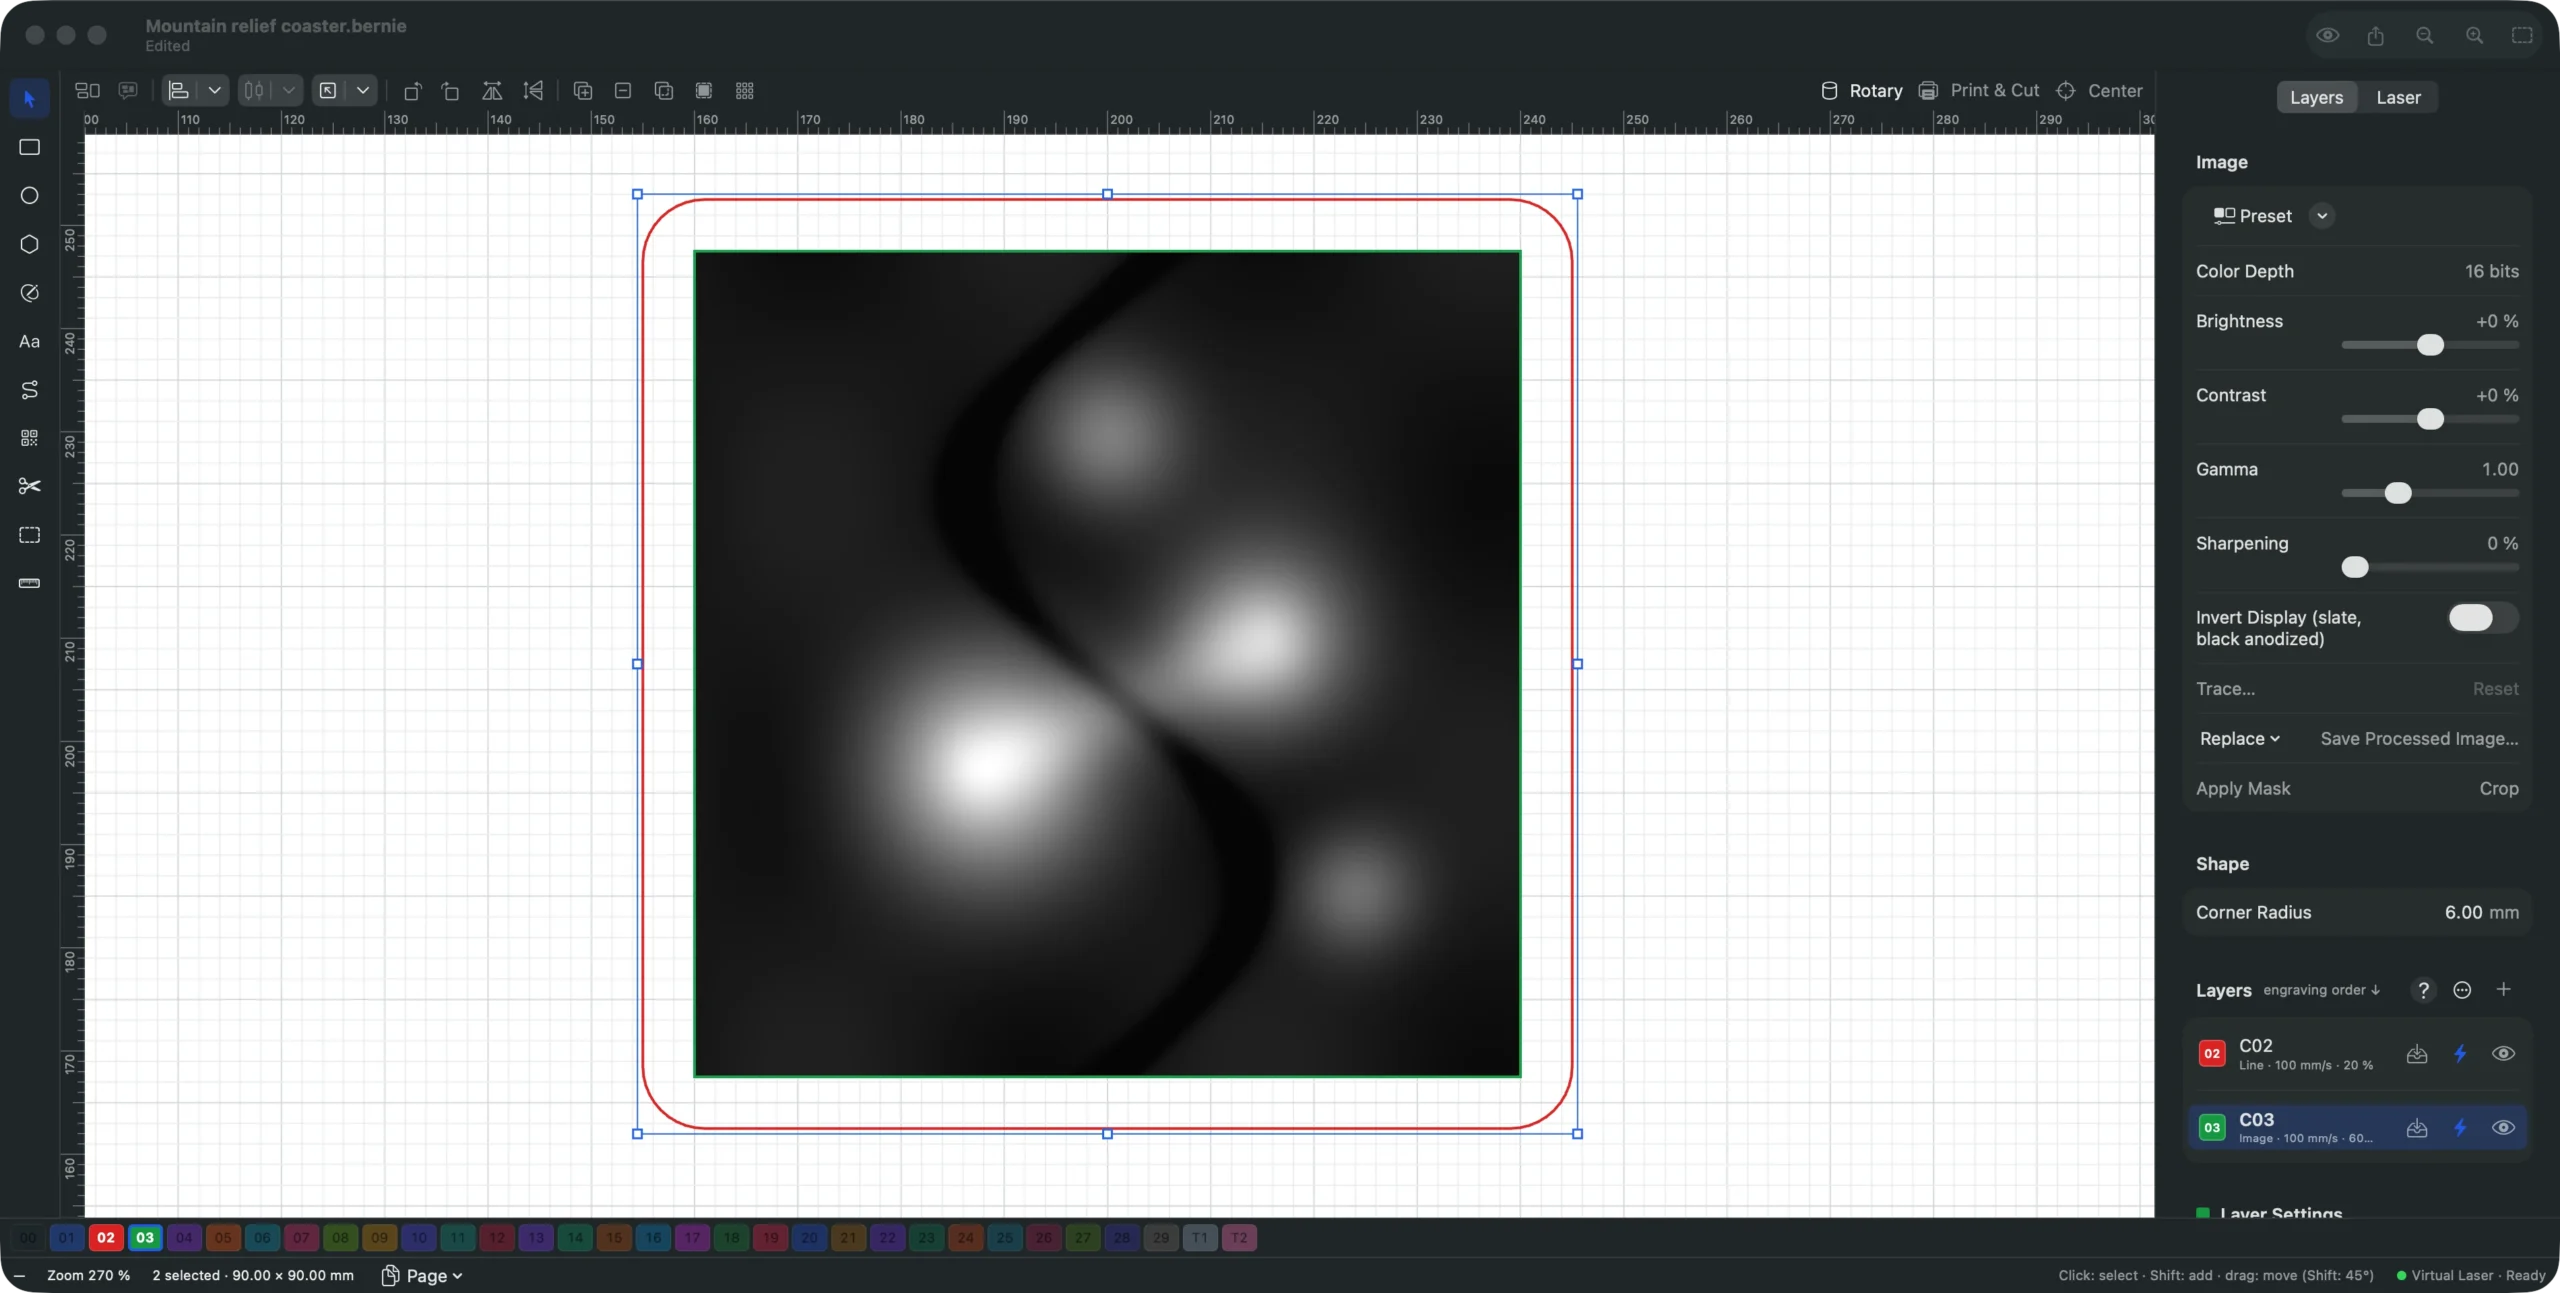
File › Import… (or Import 3D Model… in Bernie Studio, or drag and drop) accepts STL models (binary or text), OBJ, 3MF (parts, components and transforms, slicer files included), PLY, OFF and AMF. The model is seen from above, in orthographic projection, and becomes a depth map: a grayscale image where white is the highest point of the model (the material surface, nothing engraved) and black the deepest. A window shows its preview and sets:
- Side facing the laser: top (most CAD software), bottom, front, back, left or right — a model exported “Y up” (3D software, OBJ) often comes out right with Front;
- Tilt forward, Tilt sideways and Rotation (degrees) to adjust it;
- Width (the height follows the proportions; by default the model’s size, reduced to fit the bed);
- Relief kept: thickness kept below the highest point (0 = full height); smaller, only the top of the model keeps its shades and the rest turns black;
- Resolution (pixels per mm, 10 by default);
- Background: fully engraved (the model stands out, raised relief) or left untouched (the model is carved into the material).
The map (16-bit) is placed in the middle of the bed on an Image layer in grayscale — power follows depth — or in 3D slices on a galvo device; a layer that already holds shapes is left alone. The actual depth depends on power, speed, interval and number of passes: a material test and the 3D simulation help choose them; a deep relief usually needs several slow passes.
This manual is also built into Bernie: press F1, or open the Help menu, to read the topic for what you are doing. A mistake, a missing answer? Tell us
Try it in Bernie, for free.
Free laser engraving and cutting software for diode, CO2, fiber and galvo lasers. Windows, Mac, Linux, iPad, iPhone and in the browser.